
| Vendor/Brand | Comtrend |
| Model | GRG-4362 |
| Chipset | Realtek RTL9615C |
| Flash | SPI NAND 128MiB (Winbond W25N01GVZEIG) |
| RAM | 512MiB |
| CPU | Dualcore AArch64 A55 |
| CPU Clock | 1000MHz |
| Bootloader | U-Boot RSDK 2022.10 |
| System | Linux 5.10.70 (Realtek ASDK64-10.2.0 Build 3544) |
| 10GBaseT | Yes |
| PHY Ethernet | RTL8261B |
| Optics | SC/APC (SEMTECH GN28L96) |
| IP address | 192.168.1.1/24 |
| Web Gui | ✅ |
| SSH | ✅ |
| Telnet | ✅ |
| FTP | ✅, Download only |
| Serial | ✅ |
| Serial baud | 115200 |
| Serial encoding | 8-N-1 |
| Form Factor | ONT |
External/Internal Photo
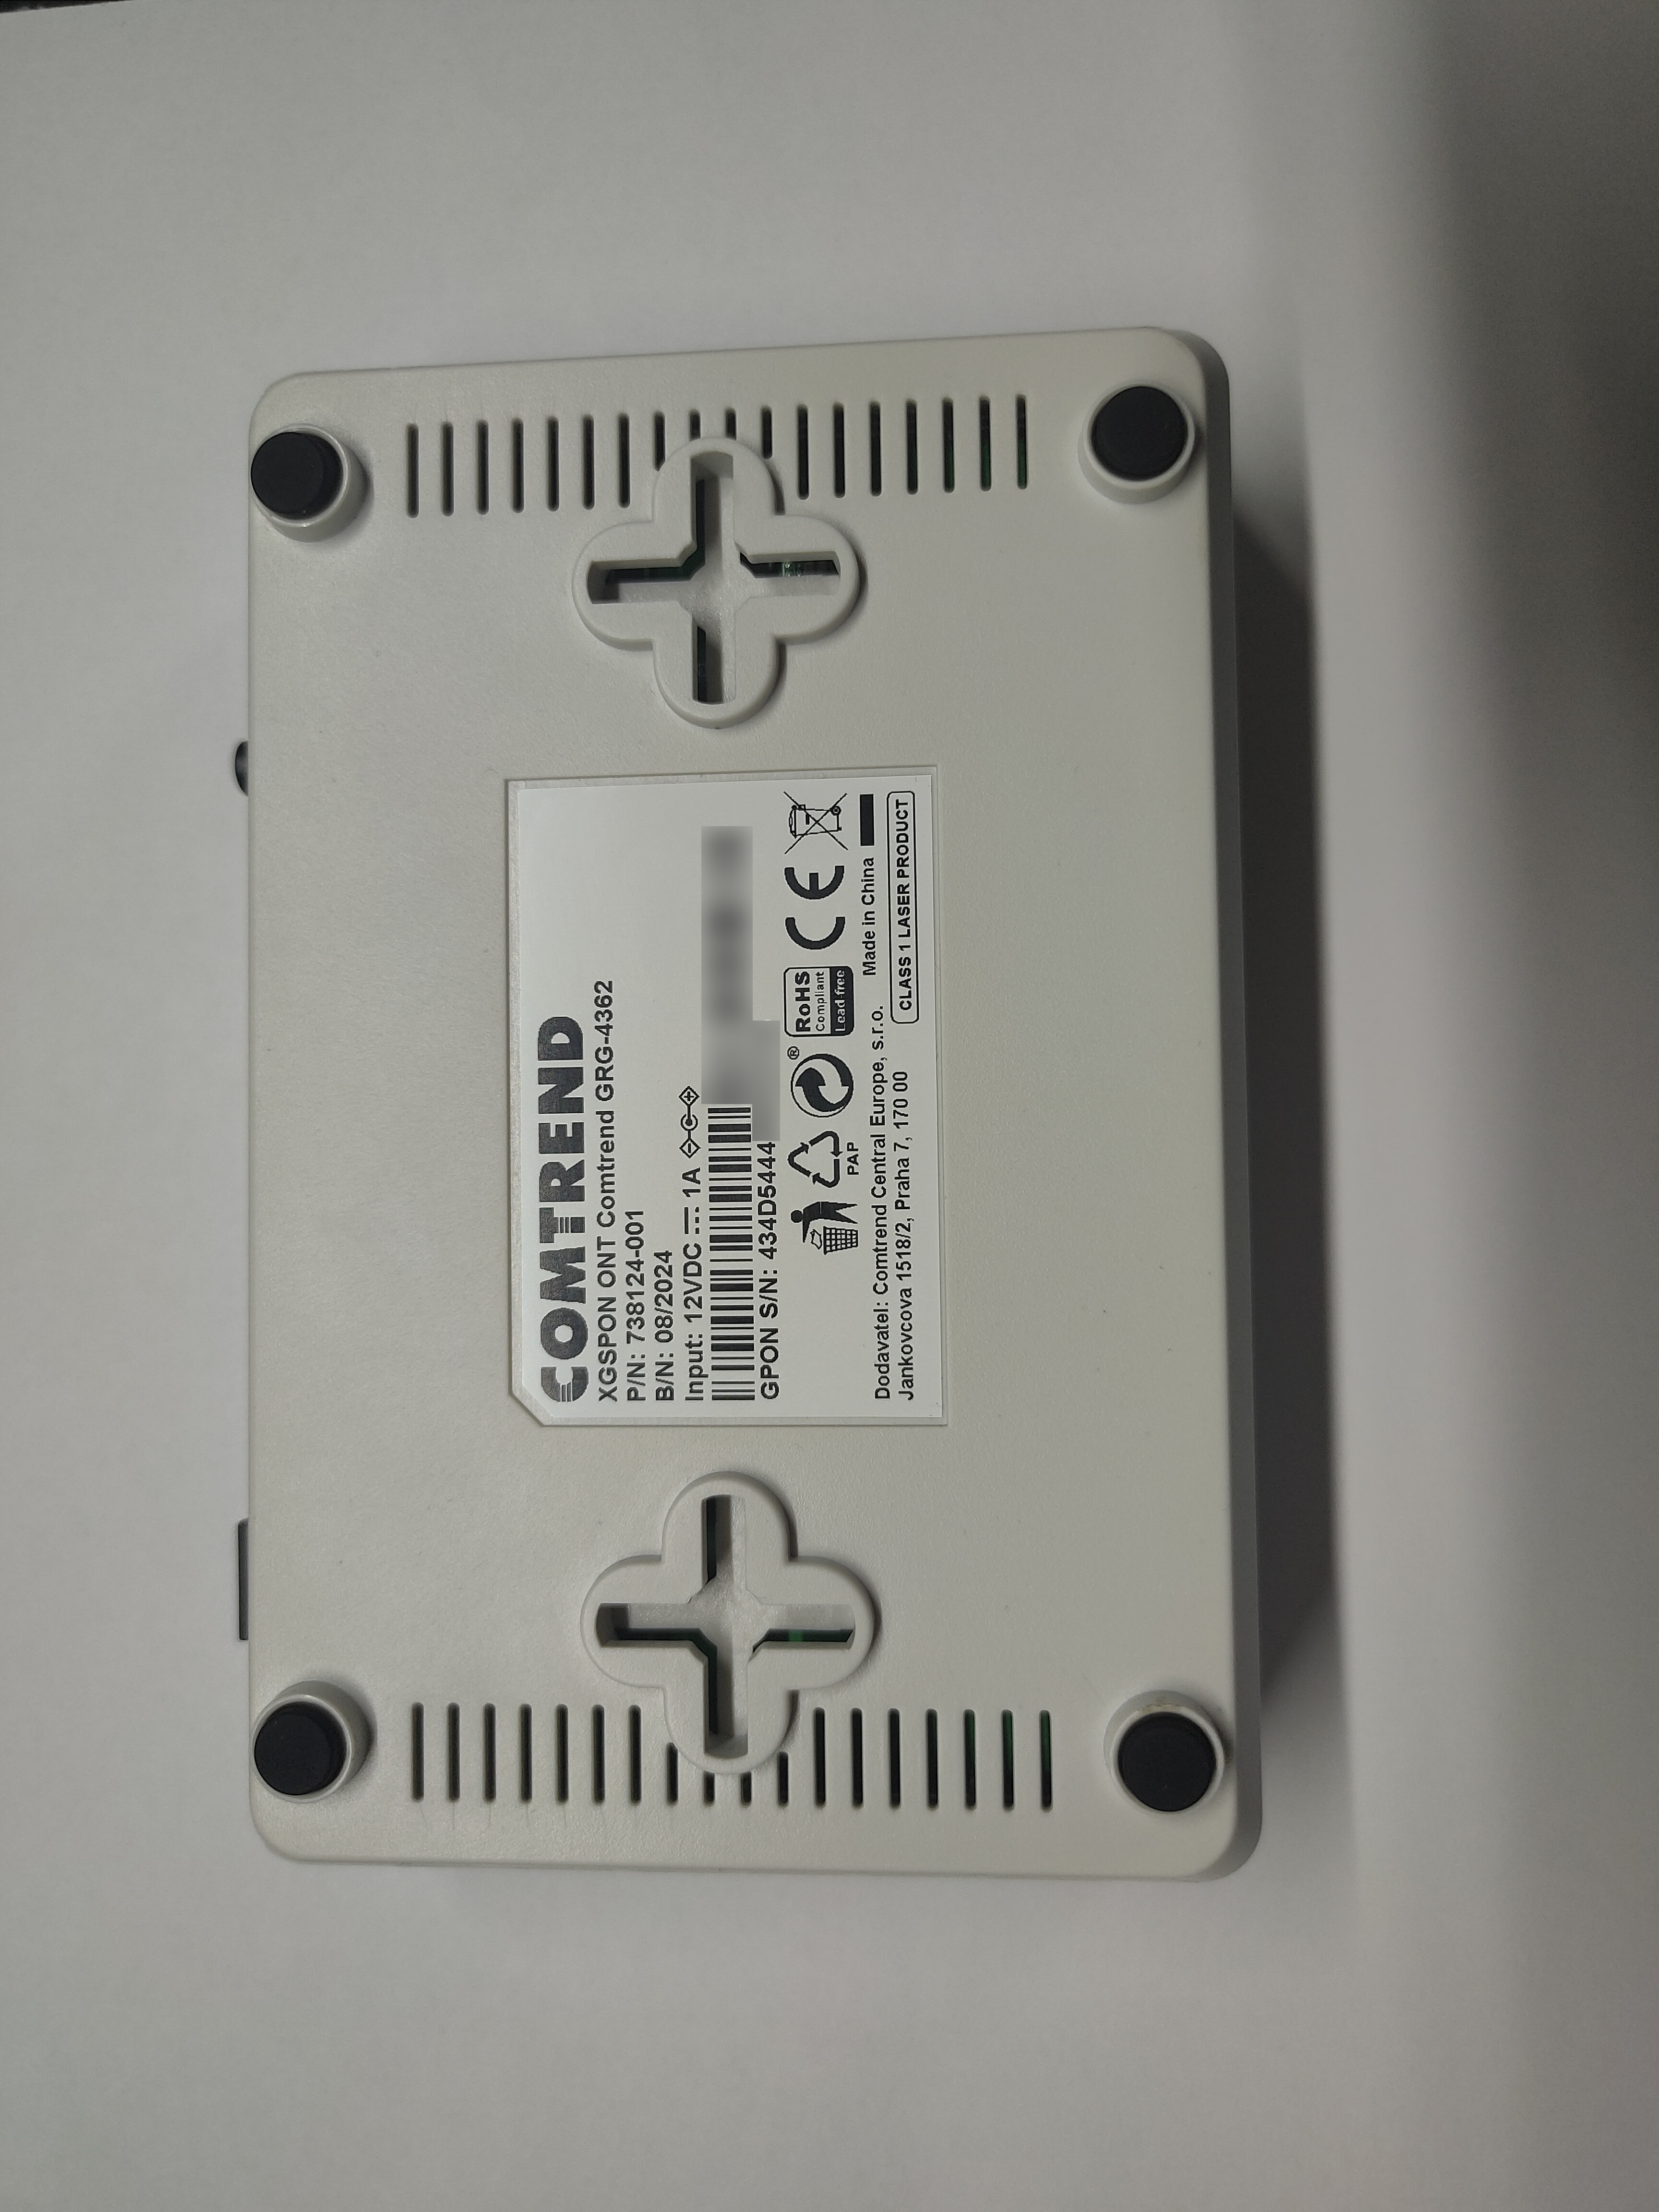
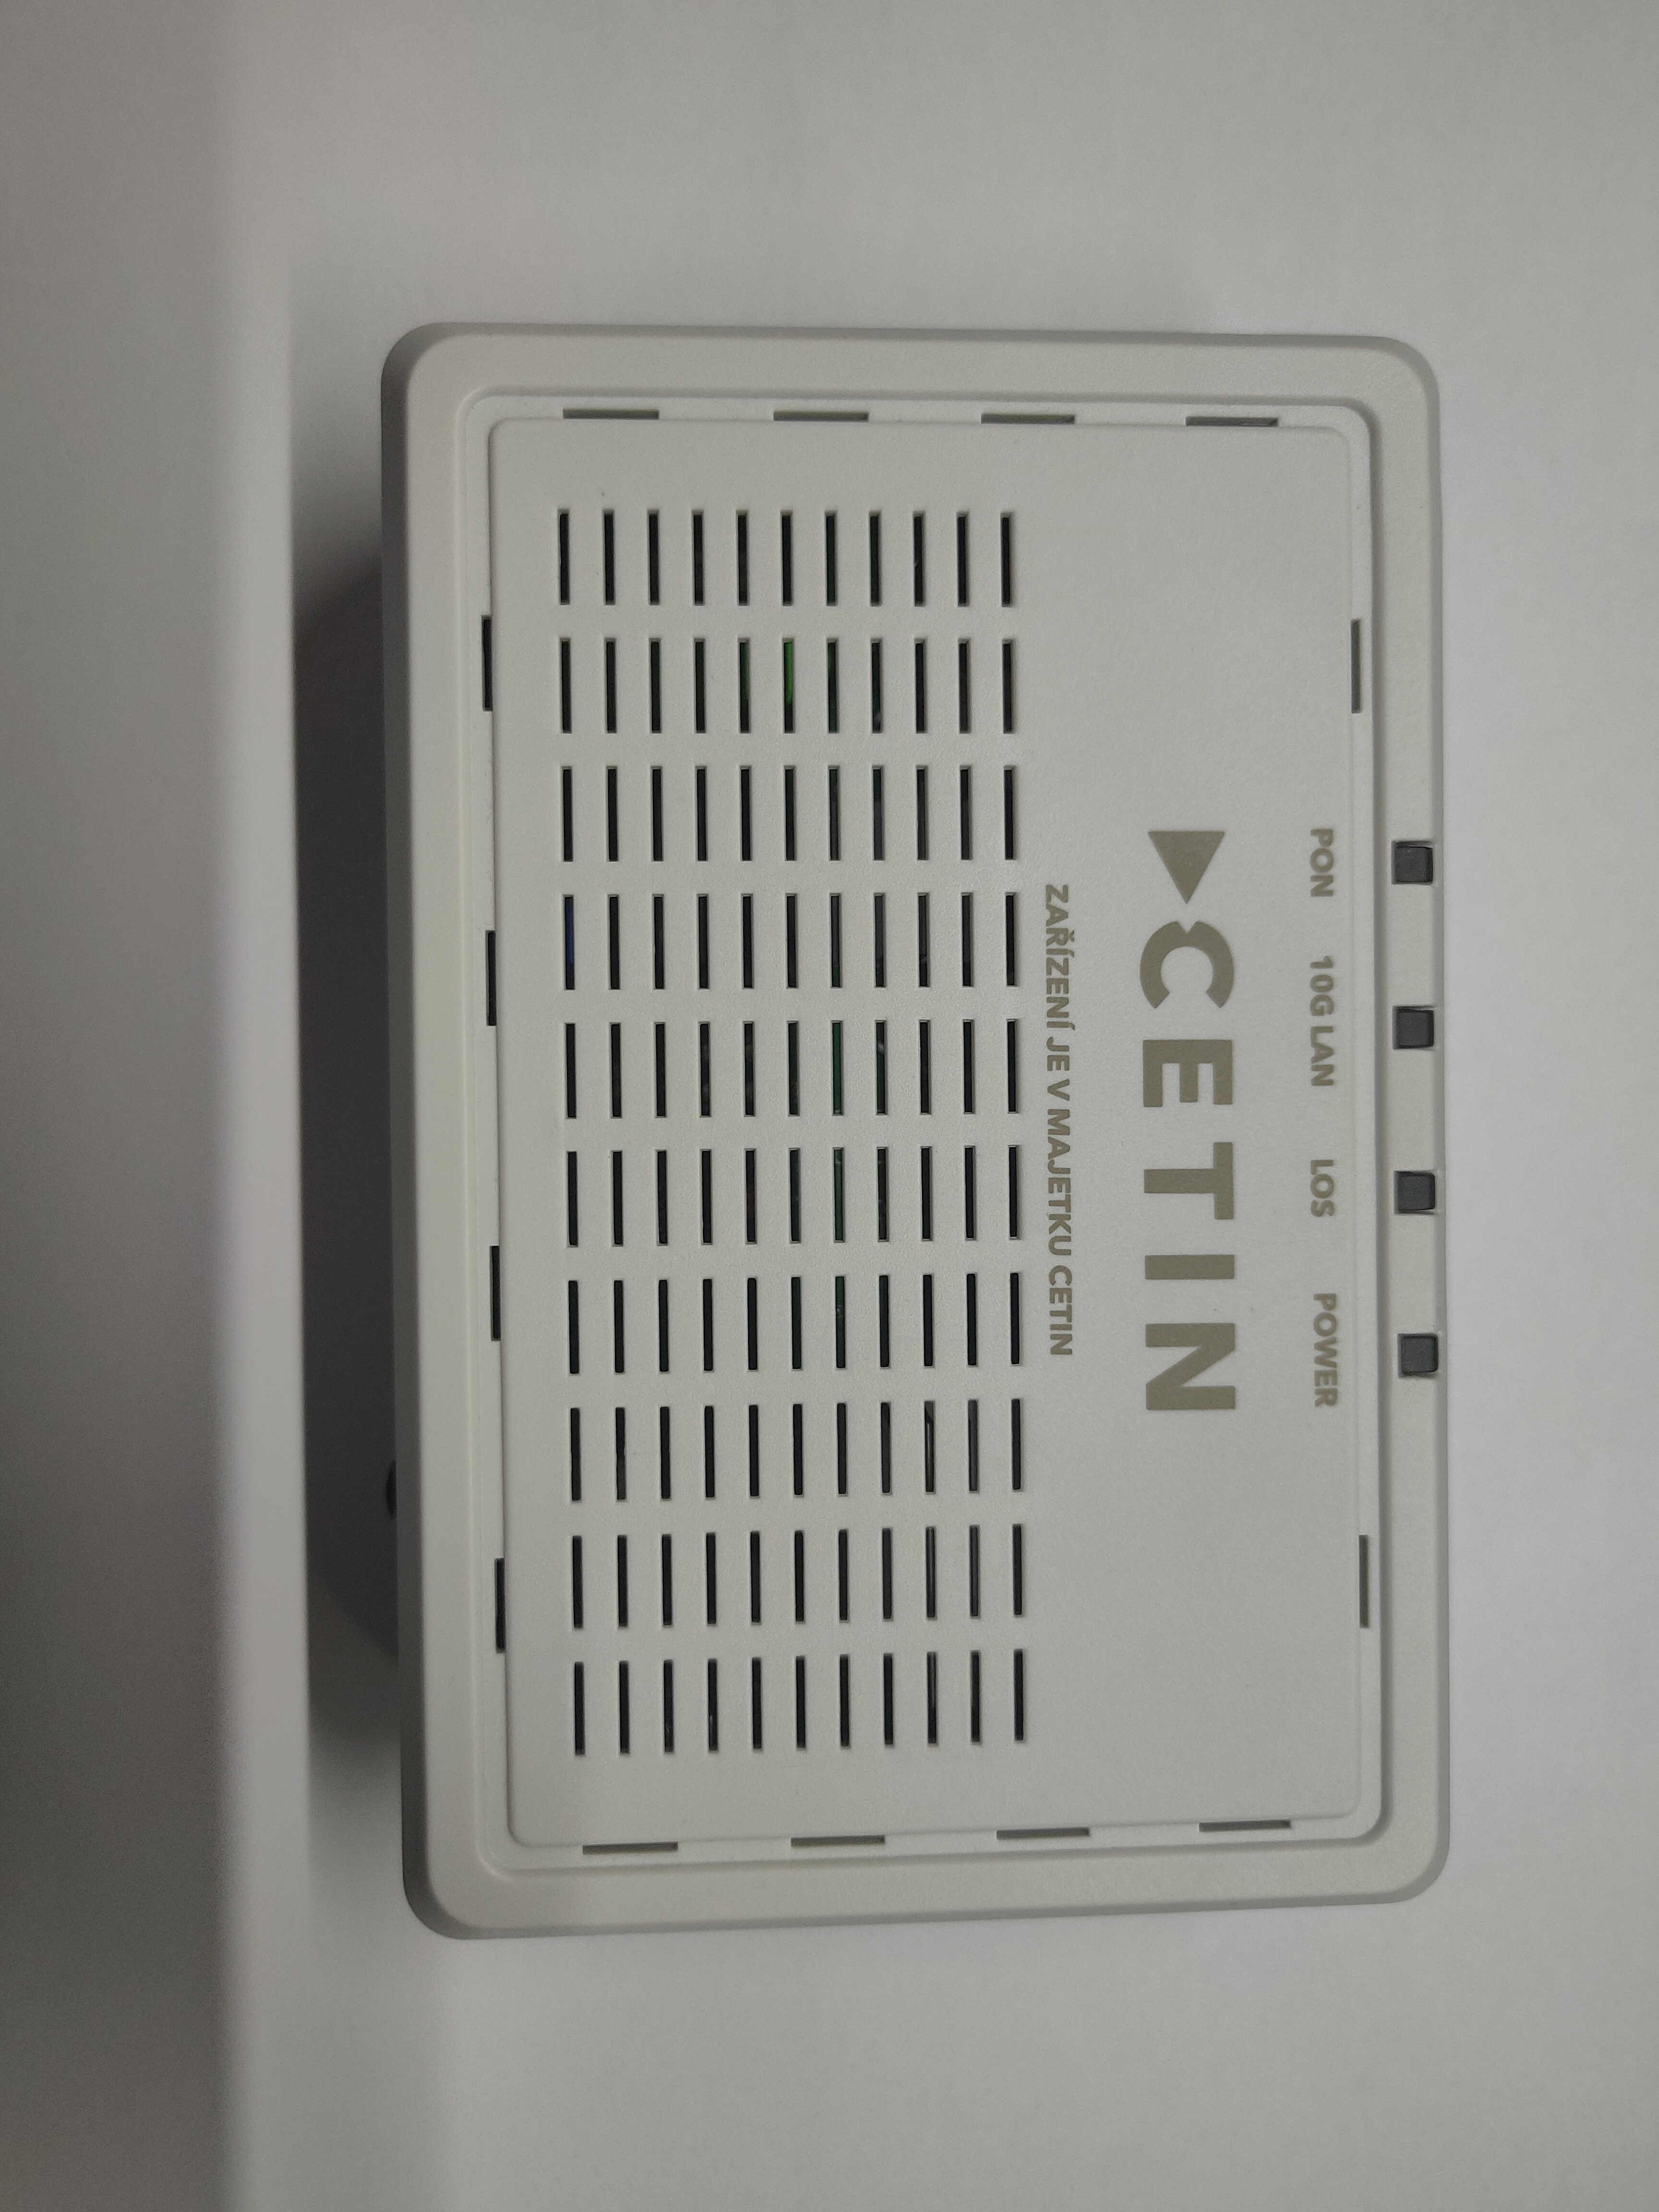
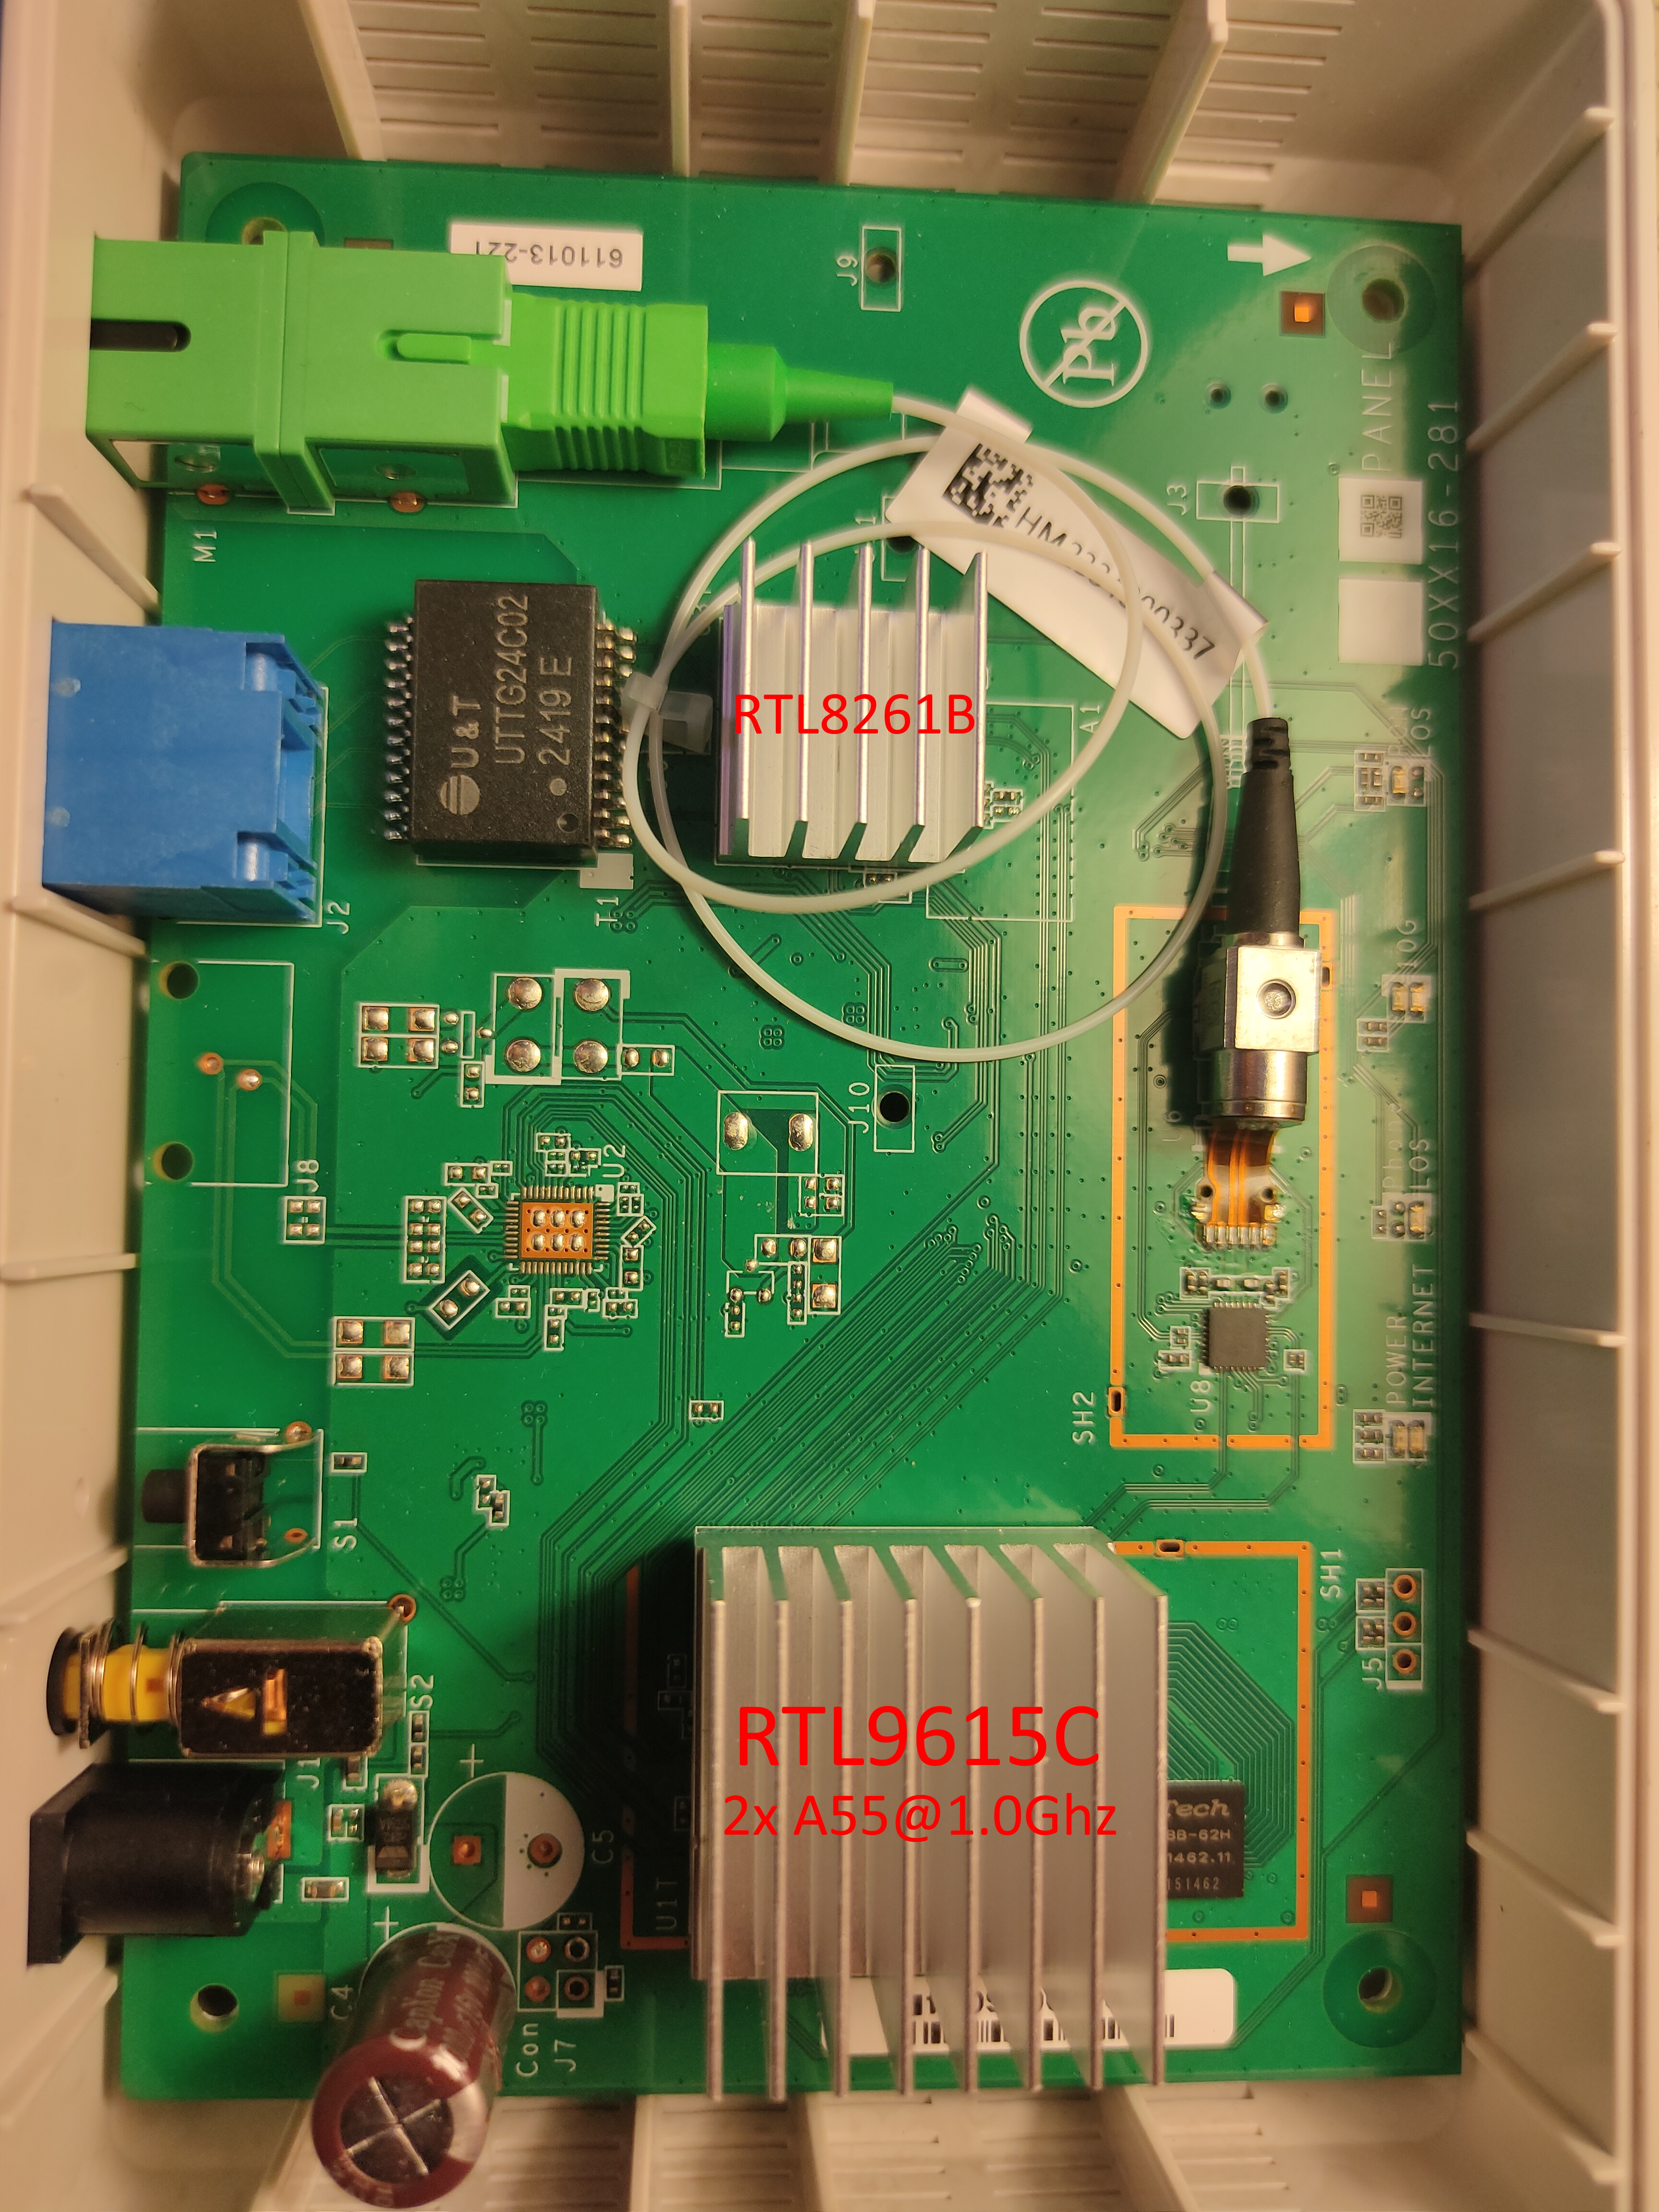
Hardware Revisions
- V2.0
List of software versions
- CTN-1.0.8b16 (Cetin)
- CTN-1.0.8b2 (Cetin)
List of partitions
cat /proc/mtd
| dev | size | erasesize | name |
|---|---|---|---|
| mtd0 | 00200000 | 00020000 | "boot" |
| mtd1 | 00040000 | 00020000 | "env" |
| mtd2 | 00040000 | 00020000 | "env2" |
| mtd3 | 00040000 | 00020000 | "static_conf" |
| mtd4 | 07cc0000 | 00020000 | "ubi_device" |
| mtd5 | 00a0d000 | 0001f000 | "ubi_Config" |
| mtd5 | 0005d000 | 0001f000 | "ubi_DTB0" |
| mtd6 | 0060e000 | 0001f000 | "ubi_k0" |
| mtd7 | 02017000 | 0001f000 | "ubi_r0" |
| mtd8 | 0005d000 | 0001f000 | "ubi_DTB1" |
| mtd8 | 0060e000 | 0001f000 | "ubi_k1" |
| mtd9 | 02017000 | 0001f000 | "ubi_r1" |
Only the first 4 partitions with erasesize 0x20000 should be manipulated using mtd devices, the fifth partition ubi_device contains the rest of the NAND and is to be manipulated using ubi volumes.
List of volumes (UBI)
ubinfo -a
| dev | size | type | name | | ------ | --------------- -------- | ------- | ---------------- | | ubi0_0 | 10539008 bytes, 10.1 MiB | dynamic | "ubi_Config" | | ubi0_1 | 380928 bytes, 372.0 KiB | dynamic | "ubi_DTB0" | | ubi0_2 | 6348800 bytes, 6.1 MiB | dynamic | "ubi_k0" | | ubi0_3 | 33648640 bytes, 32.1 MiB | dynamic | "ubi_r0" | | ubi0_4 | 380928 bytes, 372.0 KiB | dynamic | "ubi_DTB1" | | ubi0_5 | 6348800 bytes, 6.1 MiB | dynamic | "ubi_k1" | | ubi0_6 | 33648640 bytes, 32.1 MiB | dynamic | "ubi_r1" |
To back up a volume, cat or dd the appropriate /dev/ubi0_X device to a file or pipe, to restore a volume, use the ubiupdatevol utility
This ONT supports dual boot.
Volumes ubi_k0, ubi_DTB0 and ubi_r0 respectively contain kernel and rootfs of the first image, while ubi_k1, ubi_DTB1 and ubi_r1 contain kernel and rootfs of the second one.
Useful files and binaries
Useful files
/var/config/config.xml- Contains the user portion of the configuration/var/config/config_hs.xml- Contains the "hardware" configuration (which should not be changed)/var/config/rtkbosa_k.bin- Per-device laser driver calibration data/tmp/omcilog- OMCI messages logs (must be enabeled, see below)
Useful binaries
flash- Used to manipulate the config files in a somewhat safe mannernv- Used to manipulate nvram storage, including persistent config entries vianv setenv/nv getenvomcicli- Used to interact with the running OMCI daemonomci_app- The OMCI daemondiag- Used to run low-level diagnostics commands on the onucli- Comtrend cli.
GPON ONU status
Getting the operational status of the ONU
# diag rt_gpon get onu-state
ONU state: Operation State:Associated(O5.1)
Getting OLT vendor information
# omcicli mib get 131Querying a particular OMCI ME
# omcicli mib get MIB_IDXGPON/OMCI settings
Getting/Setting ONU GPON Serial Number
# flash get GPON_SN
GPON_SN=CMTD33221100
# flash set GPON_SN HWTC0A1B2C3D
Getting/Setting ONU GPON PLOAM password
# flash get GPON_PLOAM_PASSWD
GPON_PLOAM_PASSWD=3030303030
# flash set GPON_PLOAM_PASSWD AAAAAAAAAA
Getting/Setting ONU GPON LOID and LOID password
# flash get LOID
LOID=user
# flash set LOID user
# flash get LOID_PASSWD
LOID_PASSWD=user
# flash set LOID_PASSWD user
Getting/Setting OMCI software version (ME 7)
# flash get OMCI_SW_VER1
OMCI_SW_VER1=CTN-1.0.8b16
# flash set OMCI_SW_VER1 V3R017C10S100
# flash get OMCI_SW_VER2
OMCI_SW_VER2=CTN-1.0.8b2
# flash set OMCI_SW_VER2 V3R017C10S100
Getting/Setting OMCI hardware version (ME 256)
# flash get HW_HWVER
HW_HWVER=V2.0
# flash set HW_HWVER BF9.A
Getting/Setting OMCI vendor ID (ME 256)
# flash get PON_VENDOR_ID
PON_VENDOR_ID=CMTD
# flash set PON_VENDOR_ID HWTC
Getting/Setting OMCI equipment ID (ME 257)
# flash get GPON_ONU_MODEL
GPON_ONU_MODEL=GRG-4362
# flash set GPON_ONU_MODEL HG8240H
Getting/Setting OMCI OLT Mode and Fake OMCI
Configure how ONT handle OMCI from OLT:
# flash get OMCI_OLT_MODE
OMCI_OLT_MODE=1
# flash set OMCI_OLT_MODE 2| Value | Note | OMCI Information |
|---|---|---|
| 0 | Default Mode | Stock setting, most values cannot be changed |
| 1 | Huawei OLT Mode | Huawei |
| 2 | ZTE OLT Mode | ZTE |
| 3 | Customized Mode | Custom Software/Hardware Version, OMCC, etc... |
Some vendors/wholesale providers/ISPs have explicit LAN Port Number provisioning or proprietary OMCI that the cannot understand, this will make the reply OK to whatever the OLT sends it via OMCI.
0 = Disable, 1 = Enable, Default is 0
# flash get OMCI_FAKE_OK
OMCI_FAKE_OK=0
# flash set OMCI_FAKE_OK 1
Advanced settings
Transferring files to/from the router
This ONT has a capability of sharing files using FTP, TFTP, and Netcat.
Uploading any file to the FTP server will attempt to use it as a firmware update and fail.
Setting management MAC
# flash get ELAN_MAC_ADDR
ELAN_MAC_ADDR=1c6499a1b1c3
# flash set ELAN_MAC_ADDR 1c6499d4e5f6
Setting management IP
# flash get LAN_IP_ADDR
LAN_IP_ADDR=192.168.1.1
# flash set LAN_IP_ADDR 192.168.2.1
Rebooting the ONU
rebootGetting the MTU of the L2 bridge
# diag switch get max-pkt-len port all
Port Speed
----------
0    9022
1    9022
2    9022
3    9022
4    9022
5    9022
6    12000
7    12000
Checking the currently active image info
# nv getenv sw_active
sw_active=0
# nv getenv sw_version0
sw_version0=CTN-1.0.8b16
# nv getenv sw_version1
sw_version1=CTN-1.0.8b2
Booting to a different image
# nv setenv sw_commit 0|1
# reboot
Disable multicast U-Boot update
Enabled by default in Realtek U-Boot, but 10G PHY does not work.
This speeds up boot time by 10 seconds not waiting for a timeout.
# nv setenv mupgrade_en 0Unlocking shell access
Comtrend has written their own locked-down CLI shell, unlocking is possible with multiple methods.
Although the option to enter linux shell is displayed in help command, it silently fails until per-firmware password is provided.
This string is stored plaintext and hardcoded into /bin/cli and can be easily dumped.
# Example commands for firmware CTN-1.0.8b16
version --debug x4Wnhq2ReL
shell
Maintenance root shell
By editing U-Boot ENV you can boot this device straight into a root shell.
# Make sure to save your original variable content before re-writing.
TAURUS# setenv basicargs 'earlycon=serial,0xf43291b0 console=ttyS0,115200 init=/bin/bash'
TAURUS# saveenv# Setup filesystems
mount -t proc proc /proc
mount -t sysfs sysfs /sys
mount -o size=64M -t tmpfs tmpfs /var/
mkdir /var/run
mkdir /var/tmp
mkdir /var/config
mount -t ubifs ubi0:ubi_Config /var/config/
# To regain access from locked ISP firmware:
# 1. Read device login
flash get SUSER_NAME
flash get SUSER_PASSWORD
# 2. Unblock ACL rules
flash set ACL_IP_TBL.0.any 0
flash set ACL_IP_TBL.0.telnet 1
flash set ACL_IP_TBL.0.web 1
flash set ACL_IP_TBL.0.https 1
flash set ACL_IP_TBL.0.ssh 1
flash set ACL_IP_TBL.0.icmp 1
flash set ACL_IP_TBL.1.ftp 0
flash set ACL_IP_TBL.1.tftp 0
flash set ACL_IP_TBL.1.web 0
flash set ACL_IP_TBL.1.https 0
flash set ACL_IP_TBL.1.ssh 0
flash set ACL_IP_TBL.1.icmp 0
# 3. Enable full shell instead of CLI
# This script runs too early in boot process, delay was needed to get /var into right state
cat <<EOF > /var/config/run_customized_sdk.sh
#!/bin/sh
echo -en '\x1b[41;33m ===> run_customized_sdk.sh executed! <=== \x1b[0m\n'
sleep 60 && sed -i 's/\/bin\/cli/\/bin\/sh/g' /var/passwd && cat /var/passwd && echo -en '\x1b[42;30m ===> CLI Unlock success! <=== \x1b[0m\n' &
exit 0
EOFExtracting and repacking the rootfs
Warning
Make sure you run both commands as root, otherwise you might get a damaged rootfs image
# unsquashfs -d rootfs_extracted/ rootfs.img
# mksquashfs rootfs_extracted/ rootfs_new.img -comp xz -b 131072 -always-use-fragments -no-recovery -noappend
Firmware patch
Simple change with a hex editor can be done to enable full shell, inside /lib/libmib.so, change /bin/cli to /bin/ash
Then add /bin/ash to /etc/shells to enable normal shell.
In case device contains locked default configuration /etc/config_default.xml can be modified to undo any unwanted restrictions.
Binary patch is required to prevent /bin/startup from reseting ME 256 and 257 parameters on reboot.
Flashing new firmware
- U-Boot
# Trigger Ymodem transfer from terminal client of your choice, wait about ~30 minutes
loady ${tftp_base} 115200
setenv current_vol ubi_r0
run check_vol
ubi write ${tftp_base} ubi_r0 ${filesize}
reset- Linux
# Transfer with tool of your choice, wget/nc
# Swap ubi0_6 with appropriate device for inactive image
md5sum /tmp/rootfs.img
ubiupdatevol ubi0_6 /tmp/rootfs.img